
Want to try making some festive crafts but don’t have time for a big project? Steph has put together some tutorials for three easy craft projects that can be completed in about 10 minutes or less.
Do you want to see other posts from our Whitworth Advent calendar? Click here.

We’ve all seen great craft ideas for holiday decorations and handmade gifts but how many times have you bought the materials only to give up halfway through because you simply don’t have the time?
We put a lot of pressure on ourselves to do more with our time, especially during the holidays- but taking up a new hobby or creating a handmade decoration or present doesn’t have to be really expensive or time-consuming. In this post I’ve put together three easy craft tutorials for decorations and gifts that don’t cost an arm and a leg and can be made in about ten minutes or less. You may already have some of the materials you need at home already.
The first tutorial for easy festive crafts, which can be made in ten minutes or less, shows you how to turn a toy into a Christmas decoration.
Tutorial #2 shows you how to make pendants using beads and headpins, which can be strung on a chain and given away as a gift (or you can wear your creation during party season!)
Have you bought or received any drinks in fancy-looking bottles? Keep them to one side once you’re done with the contents- they’ll come in handy for idea #3!
Jump ahead:
Idea 1: Xmas Delivery: Turn a Toy into a Festive Decoration
Idea 3: Make Your Own Festive Light Bottle
Idea 1: Xmas Delivery: Turn a Toy into a Festive Decoration
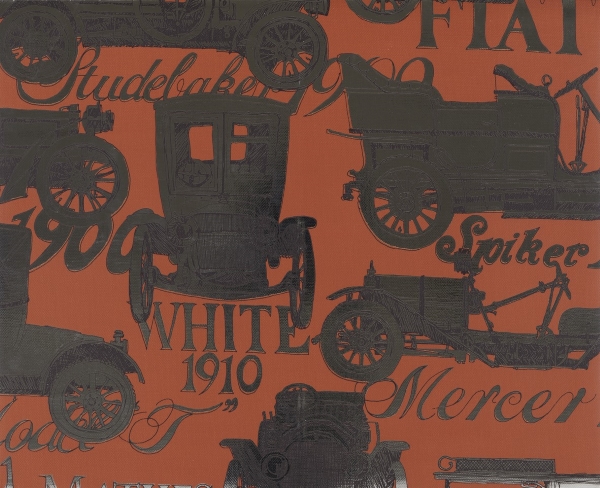
Christmas and nostalgia seem to go hand in hand, especially with regard to many festive decorations. I came across this great piece of wallpaper with a design of vintage cars when I was browsing through the gallery’s collections for inspiration for this year’s Whitworth Advent calendar. I was gifted a cute pair of socks last Christmas which have a motif of a car with a Christmas tree attached to its roof on them. They quickly became one of my favourite pairs of socks and I wore them long after the festive season was over. They’re now looking a bit worse for wear but, together with the piece of wallpaper pictured above, they gave me an idea for a fun decoration for a tabletop scene.

A tabletop scene is a nice way of adding a festive touch to the home when you have a tight budget, are short on time or just don’t have a lot of space and don’t want too much clutter.
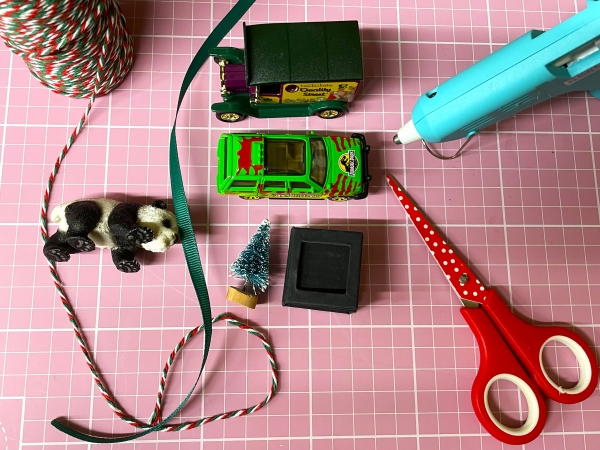
You will need:
- A toy car. I used old ‘matchbox’ metal toy cars. You could also use a toy animal.
- Twine.
- Small bottle brush Xmas trees or a little gift box. The gift box I used for one of my decorations is about 3cm x 3cm.
- Ribbon (optional).
- A hot glue gun or electrical tape to secure the twine which will hold the tree in place.
- Scissors.
Step One:
Cut a length of twine. This needs to be long enough to go around your figurine and the tree of gift box you are attaching to its back.
Step Two:

If you are using a hot glue gun, insert your hot glue sticks into the glue gun and then plug the glue gun in and let it heat up.
Proceed to step three.
Step Three:

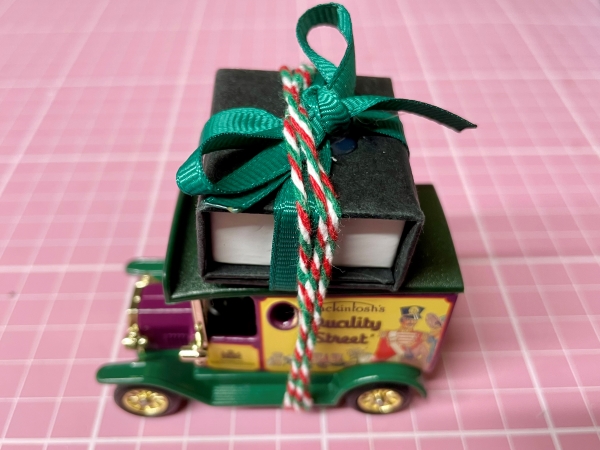
If you are using a hot glue gun: Hold the bottle brush tree in place on the top of the toy car. Place your length of twine over the tree, with an end hanging over each side of the car.

Keeping the tree in place on the roof of the car, loop one end of the twine over the other underneath the car and pull both ends tightly so that the tree is held more securely in place.
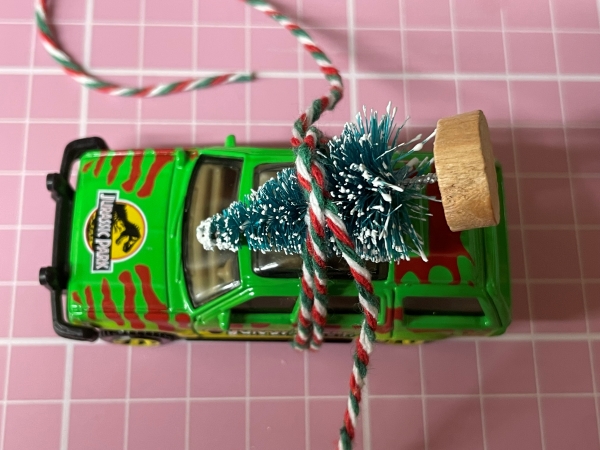
Bring both ends of twine up over the tree and the top of the car, loop one end over the other and pull tightly before passing them back under the car.
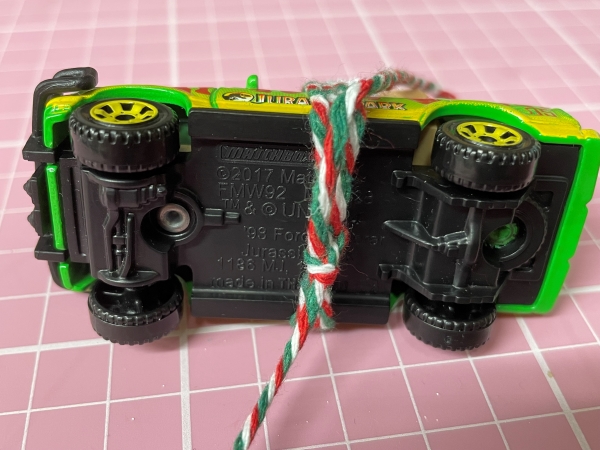
Tie the ends of the twine in a knot underneath the car.
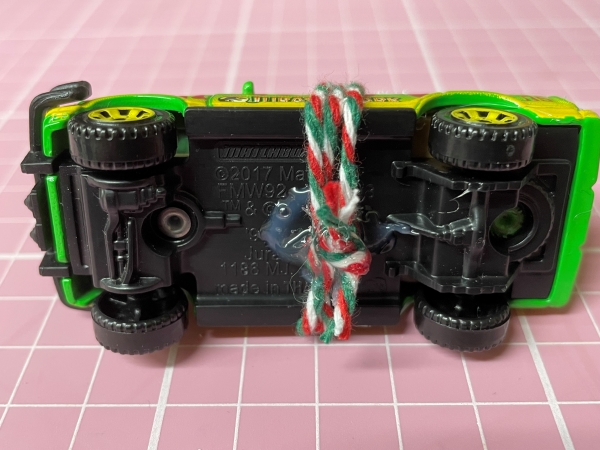
If you are using a hot glue gun, secure the knot in place with hot glue. Trim any excess twine.
If you are using electrical tape, trim any excess twine and secure the knot with a small piece of tape.

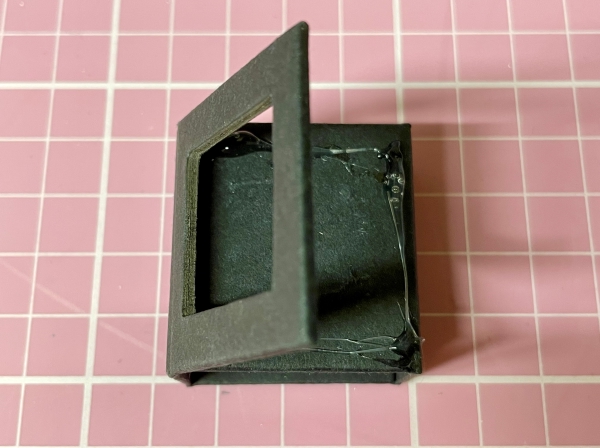
If you are using a gift box instead of a bottle brush tree, here are some tips:
I found it was useful to glue the lid of the old gift box I used to the rest of the box.
I wanted to dress the gift box up a bit, so I tied a piece pf ribbon around the box and used hot glue to fix the the bow in place more securely on top of the box.

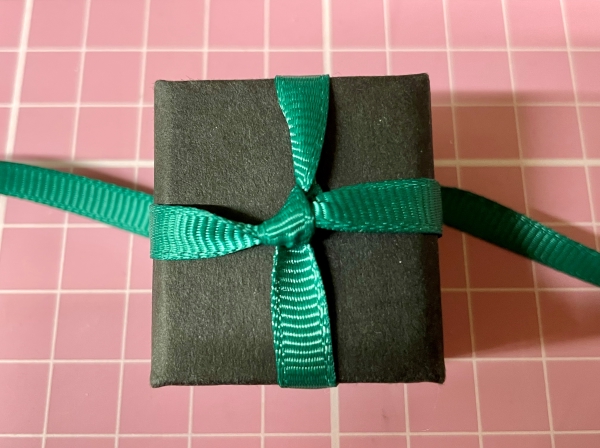
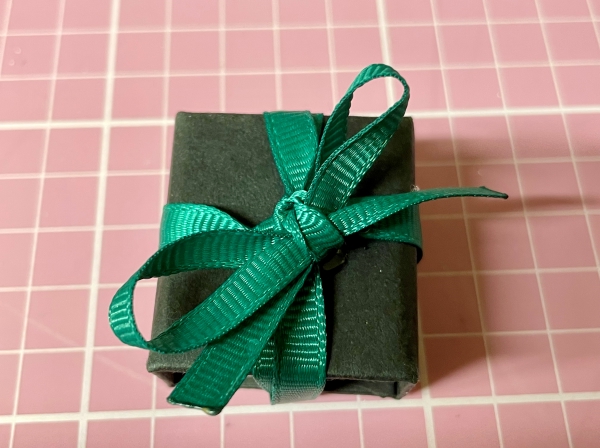
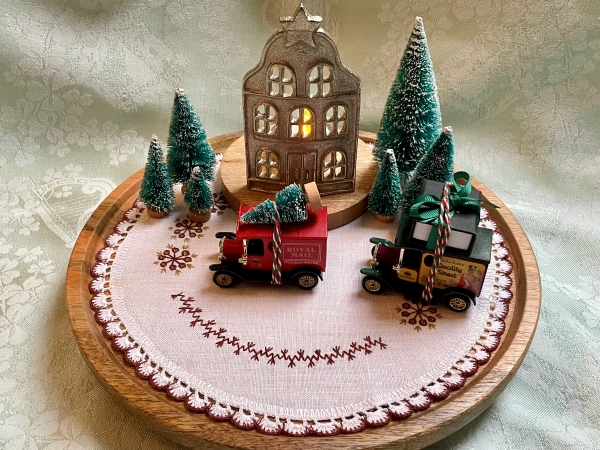
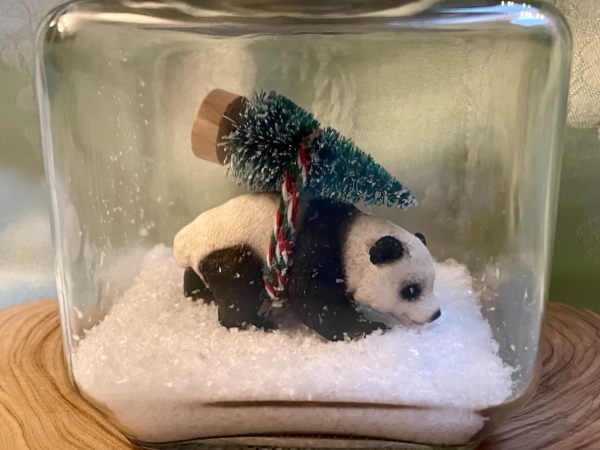
Here is the finished decoration:

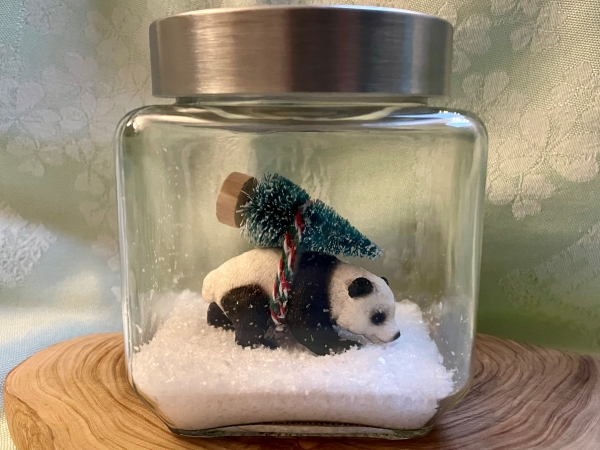
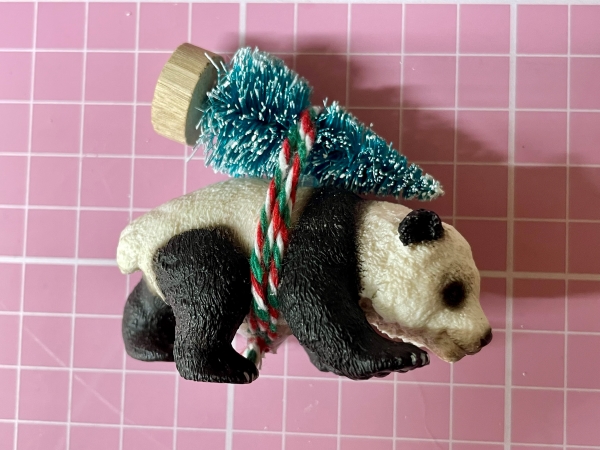
One of my oldest friends adores pandas and Christmas, so I made a little decoration using a toy panda too. I applied hot glue to the panda’s paws and stuck him to the bottom of a jar, to which I added some artificial snow. I used a funnel when I was adding the artificial snow to the jar, which certainly made things less messy than they could have been.

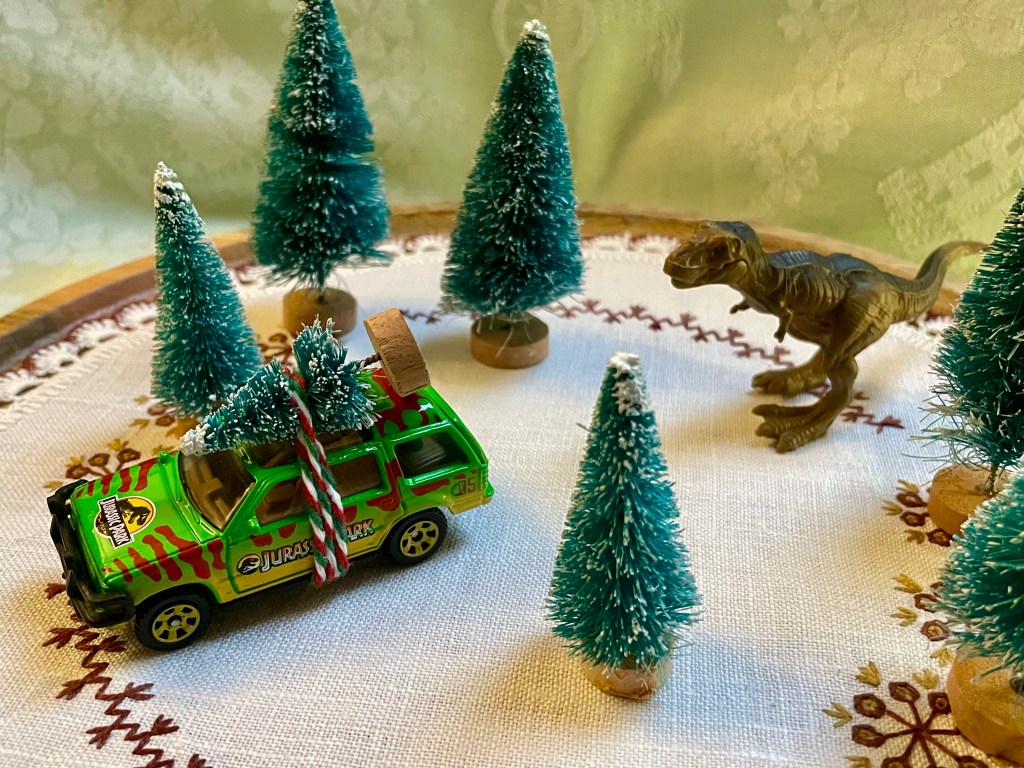
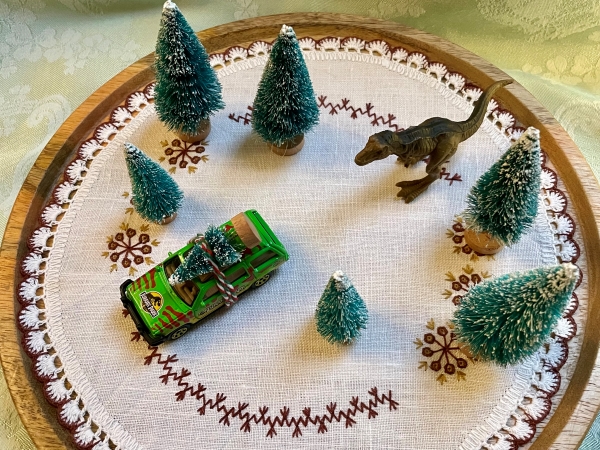
As a big Jurassic Park fan, I couldn’t resist making a Jurassic Park tabletop scene with the little matchbox jeep:
Idea 2: Baubles You Can Wear
Did you know that there are some stained-glass panels in the Whitworth’s collections? They were designed by Sir Edward Coley Burne-Jones and feature designs of angels.
There is a long history behind the creation of coloured glass objects, with some of the best quality and most beautiful glass still being produced in the Czech Republic and Italy. Czech glass beads and Murano glass beads are still made using traditional techniques and provide affordable and high-quality options when it comes to jewellery making. Many of the rich colours used in the creation of such beads bring to mind stained-glass windows. You can also find a great variety of designs, with beads available in many different shapes.
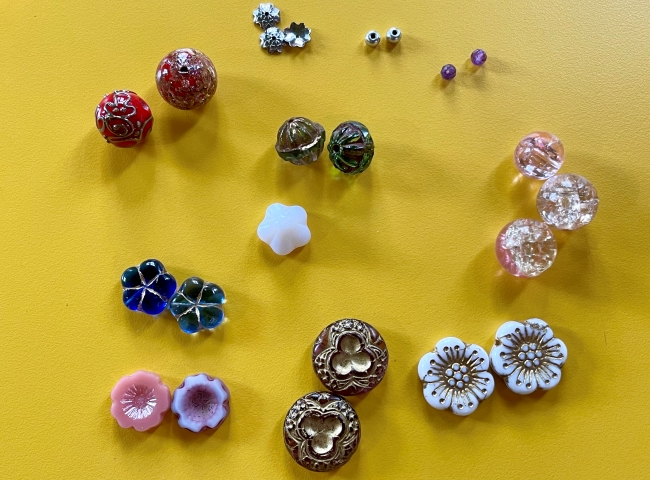
Assortment of beads and some bead caps. On your upper left are two red beads: one is a lampwork glass bead with puffy gold detailing, the glittery red and gold bead is a Murano glass bead. Most of the other beads are Czech glass beads. Some are table cut beads, others are pressed glass beads. The beads on your centre right are crackle glass beads. 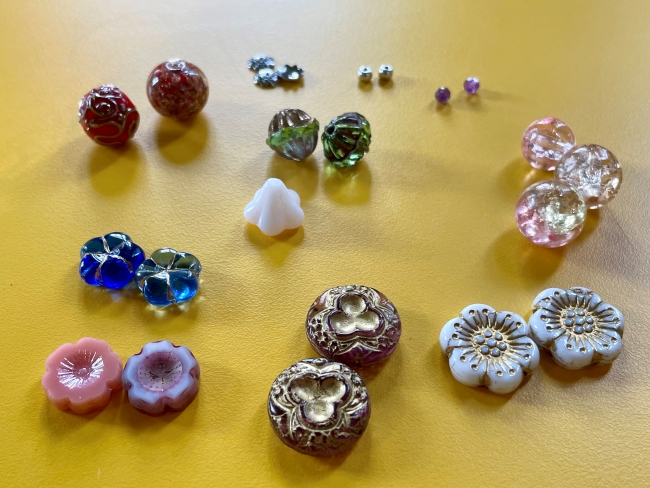
This year, with the beautiful colours of the stained-glass panels in the gallery’s collection in mind, I decided to create some glass pendants to give away as gifts.
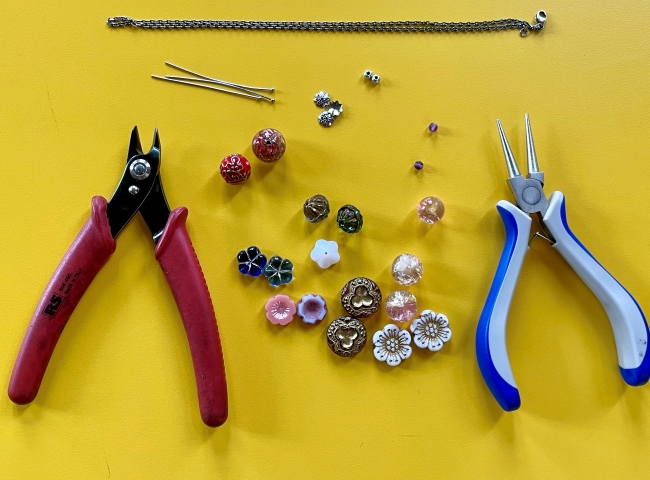
To make some glass pendants you will need:
- Round nose pliers.
- Snips.
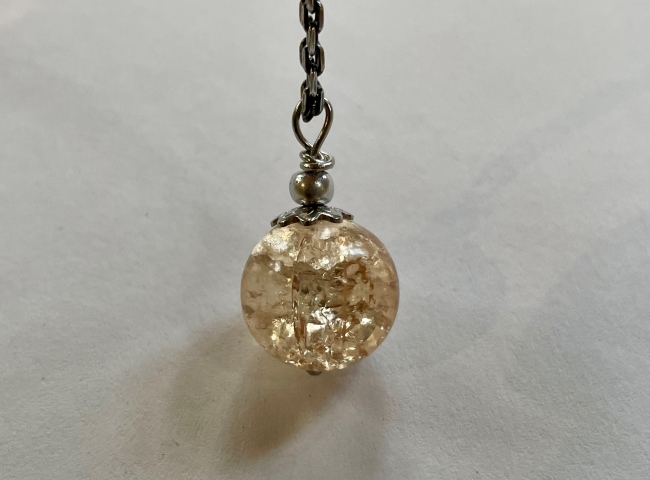
- Some glass beads and any other beads you wish to use. I used a 14mm crackle glass bead to make the ‘bauble’ pendant, as well as a small stainless steel bead cap and a small seed bead about 4mm in size.
- Metal bead caps (optional)
- 5mm or 6mm jump rings or split rings (optional- I didn’t use these).
- A chain.
- Headpins. I used some stainless steel headpins which were 40mm in length. You don’t have to use stainless steel if you don’t want to. You can buy headpins made of cheaper alloys which are silver plated- but these may not last as long.
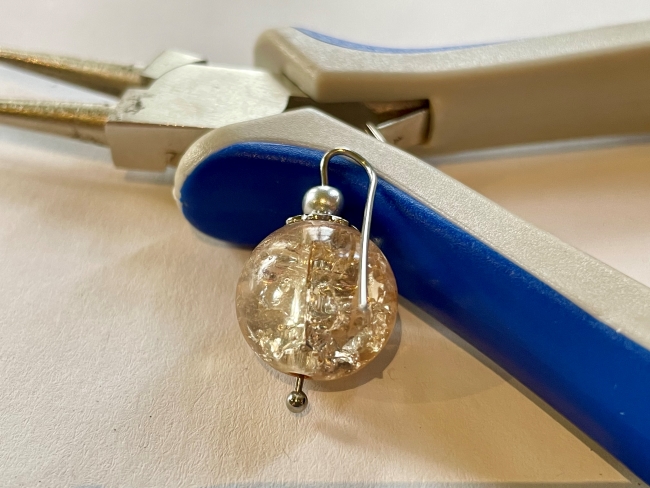
Please note: you can buy round nose pliers and snips just for jewellery making but you don’t absolutely need the ones used for jewellery making for this tutorial. I actually use some of my dad’s old tools, which I have found to be more sturdy and reliable- they may not be the best for really fine, delicate materials like sterling silver but old tools will be just fine for this tutorial.
Step One:
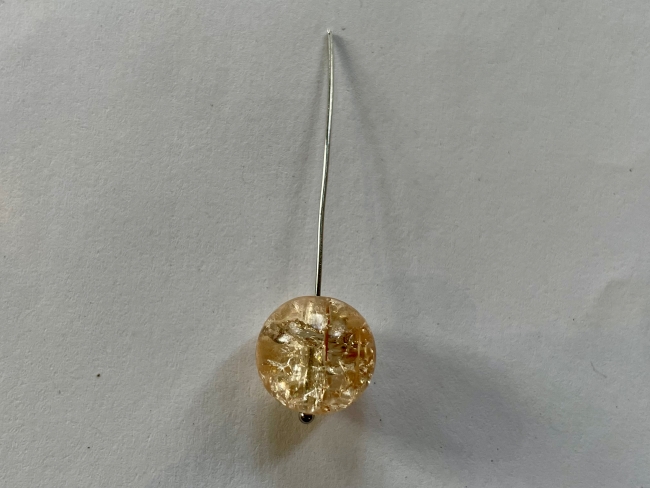
Select a headpin and arrange your chosen beads for a pendant on the headpin.
Headpins are often slightly wonky when you first get them. You can try straightening it out a bit before adding the beads if you want.
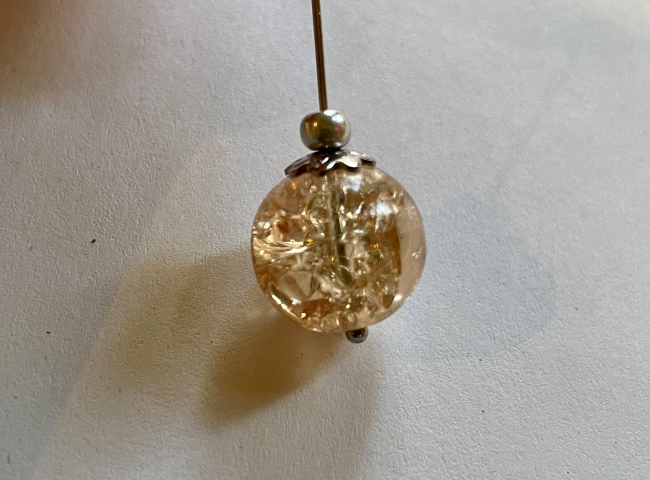
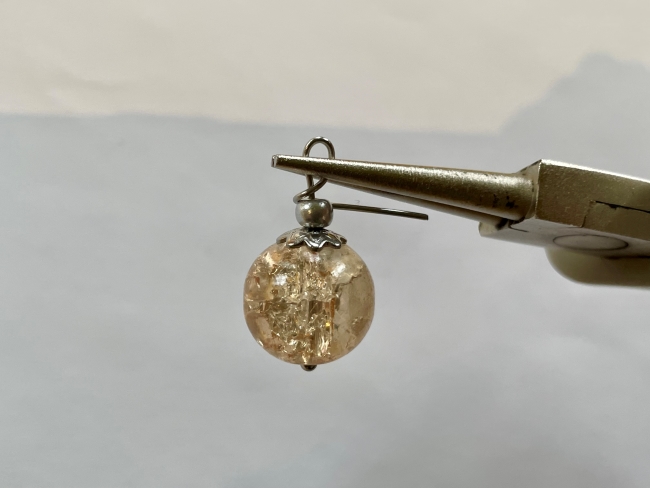
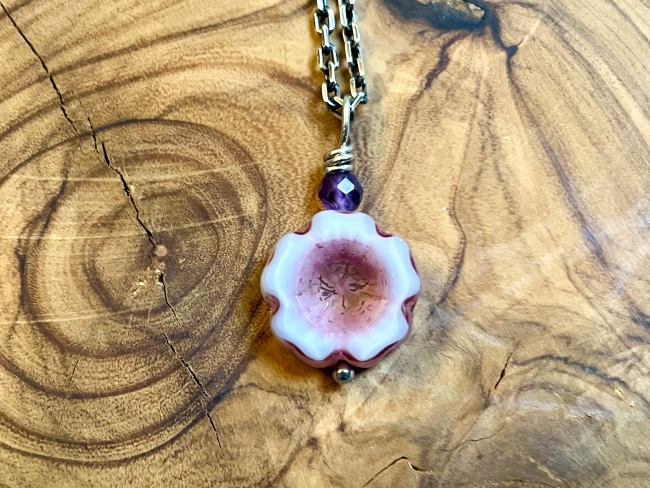
To make a ‘bauble’ pendant you should first add a large round glass bead in a colour of your choice to the headpin. I used a 14mm crackle glass bead. after you have placed the large glass bead onto the headpin, add a metal bead cap. Once your metal bead cap is sitting on top of your glass bead, add a seed bead (around 4mm and the same colour as your bead cap) to the arrangement.
Step Two:
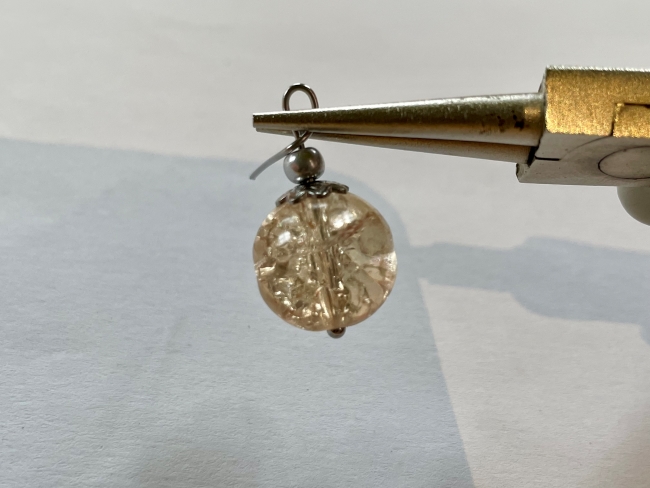
Using your round nose pliers, bend the headpin so it’s at around a 90° angle a short distance above your beads. It should look like this:
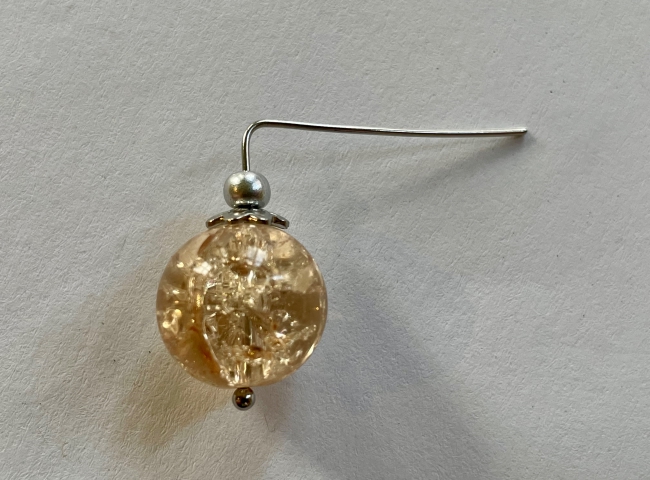
Step Three:
Using your round nose pliers again, start to bring the long end of the headpin down and round. It should now be shaped a little bit like a question mark:
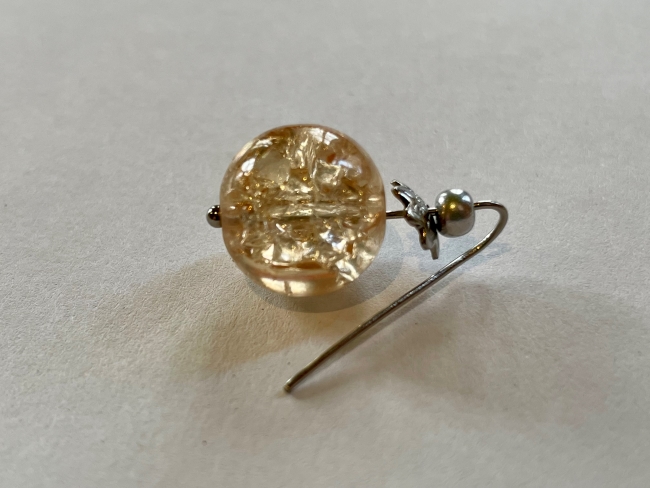
Step Four:
Now start to bring the long end of the headpin up against the small, straight piece that juts out from the top of your beads. We’re trying to make a loop here.
I made my loops big enough to thread my chain through but please don’t worry if you end up with a small loop. Once the pendant is finished you can simply attach a small jump ring (or a split ring if you prefer) to the loop on your pendant and then string it on a chain. Jump or split rings about 5-6mm in size should do the trick.
Step Five:
Hold the loop you have just made closed with your round nose pliers in one hand. Start to wrap the long end of the headpin around the smaller end which sits in the centre with your other hand.
You’re going to do this in a downward spiral shape:
Keep wrapping the long end of headpin around the smaller piece at the centre until you can’t fit any more above your beads:
Step Six:
You can use your round nose pliers to round off the straighter side of your loop if you want. You can also use them to tighten up the spirals you made with the long end of the headpin if they are not fully flush against the top of the end which runs through the centre of your beads.
Using your snips, snip away the excess part of the headpin. Check you haven’t left a jagged piece behind which could rub against someone’s skin. If it feels sharp, snip a tiny piece of the headpin away at the end of your spirals.
Step Seven:
String your pendant on the chain you have selected for it and enjoy!
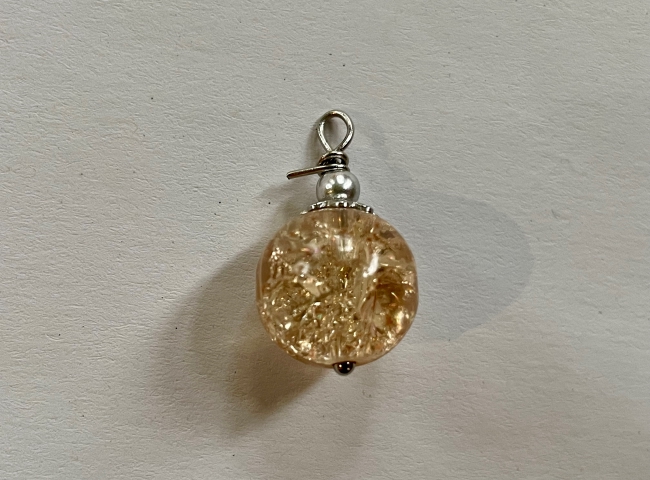
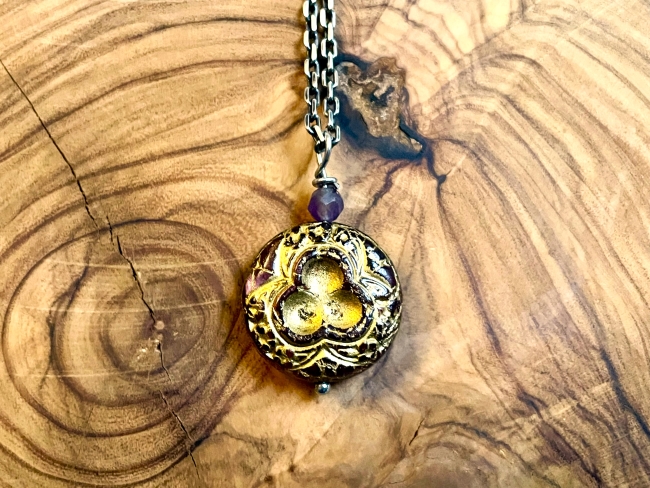
Here are some other glass pendants I made:

Idea 3: Make Your Own Festive Light Bottle

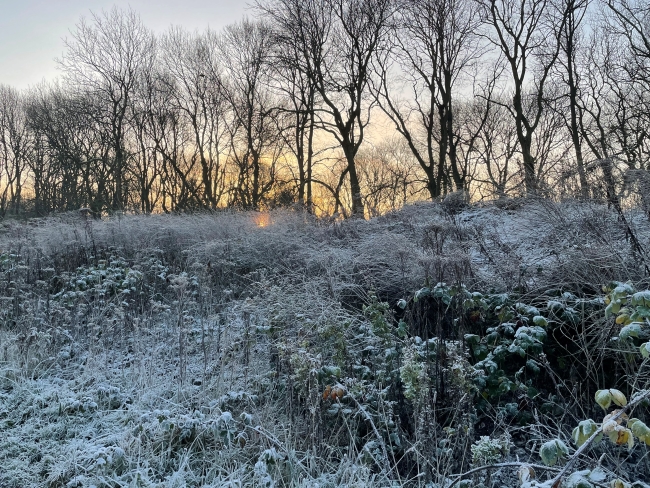
I love how the morning sun is so golden on winter mornings, piercing through the dark limbs of dormant trees and dancing on frosty surfaces. I actually don’t mind winter, it doesn’t really depress me. But there is something magical about a glimmer of light during the darkest months of the year, there’s just something so cosy about it.
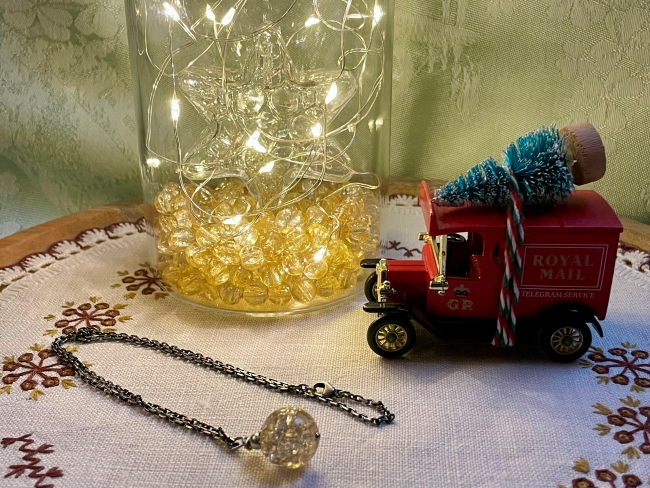
To try to capture that feeling, this year I created some winter light bottles.
Have you ever ended up with a beautiful glass bottle in your possession and found yourself not wanting to just chuck it away after you have finished the contents? This simple craft is a cheap and easy way of making use of those bottles and turning them into a winter decoration. Best of all, the bottles will be free if you are presented with a bottle of something special during the party season!
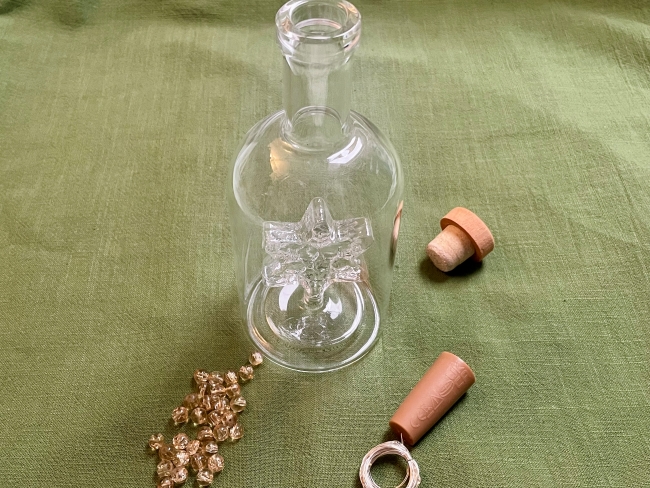
For a festive light bottle you will need:
- A clear glass bottle.
- Some crackle glass beads or some other glass beads of your choice. Make sure they are small enough to pass through the mouth of your bottle. I used 6mm beads.
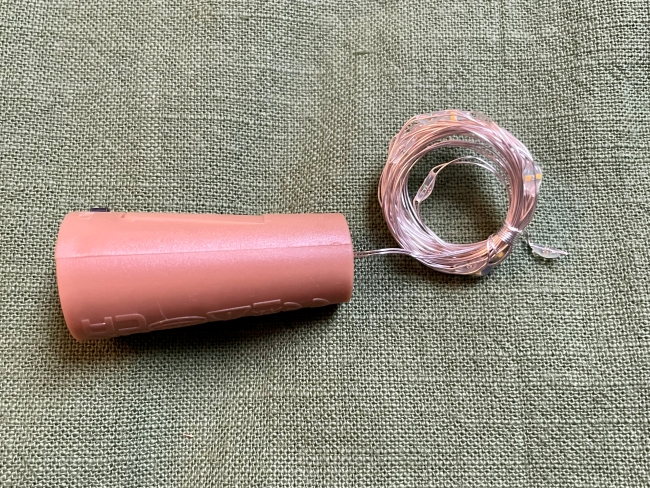
- LED bottle lights. I bought mine from Hobbycraft.
I prefer to use crackle glass beads for my festive winter bottles because they are cheap, come in a wide range or colours and sizes and the crackle of the glass makes them sparkle nicely- almost like ice or tree baubles, depending on the colour you go for.
Step One:
If you are using a new bottle or jar, move on to Step Two.
If you are reusing a bottle or jar, clean it with warm water and soap. You can leave your bottle of jar to soak if you want to remove any labels. Once your bottle is clean, leave it to dry. Making a paste from baking soda and water (you can also add dish soap for extra stubborn spots) is handy for removing any sticky residue from labels.
Step Two:
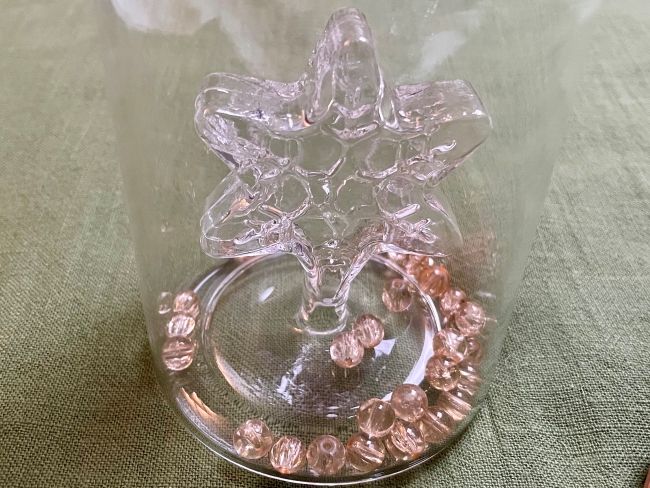
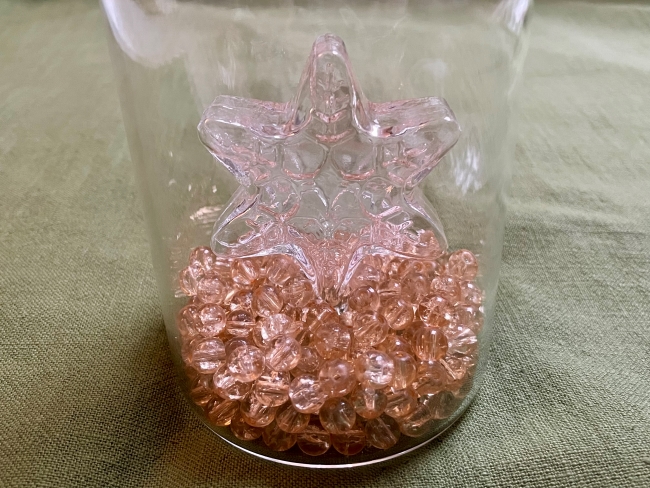
For a festive light bottle:
Add some beads to your bottle until you are happy with how it looks.
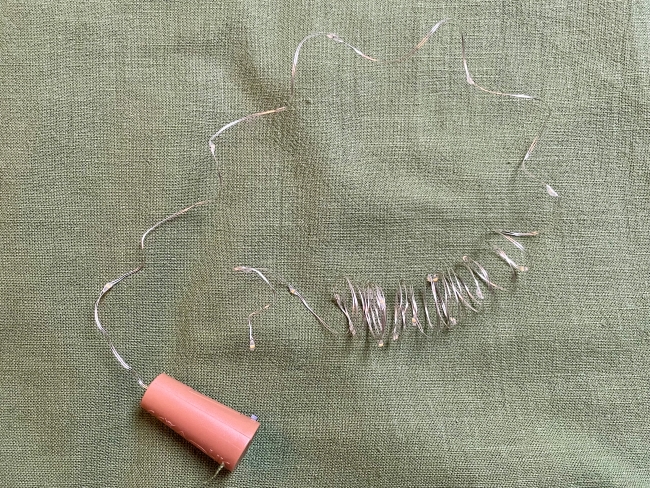
Step Three:
Now you need to untangle you bottle lights.
Step Four:
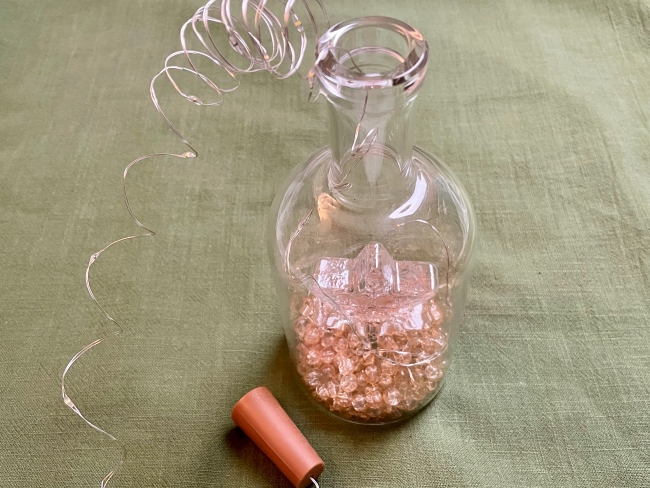
Add your LED bottle lights to the bottle by feeding slowly them through the neck of the bottle.
Switch the lights on and enjoy your winter light bottle!
I hope you have found these craft tutorials helpful and you’re able to do a bit of festive crafting this year!
–Steph
