
Find out how to create your own pocket-sized star plush in time for Christmas in this tutorial by Steph.
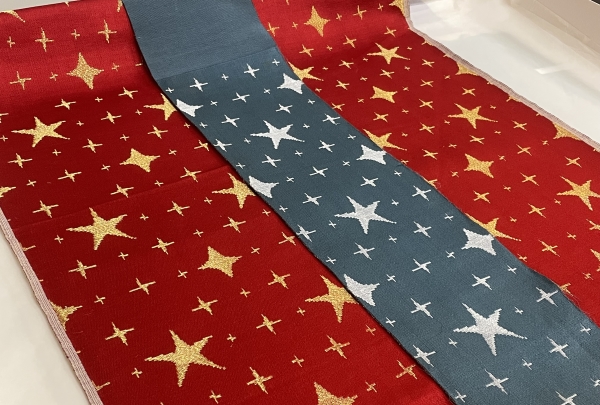
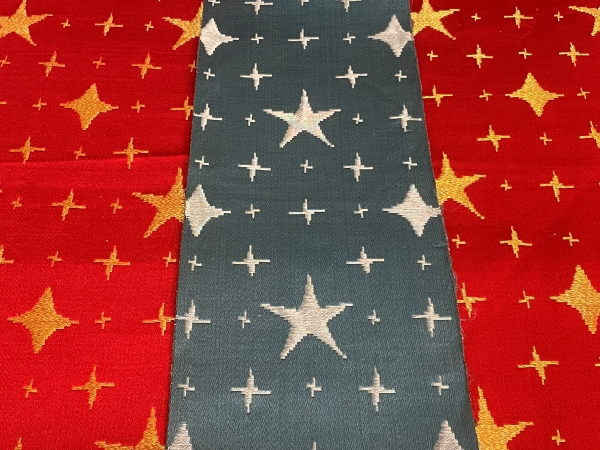
Earlier this year Vicky, our Curatorial Assistant for Textiles and Wallpaper, was kind enough to show me some pieces she thought would be perfect for this year’s online Whitworth Advent Calendar. Her keen eyes had spotted some lovely samples of fabric decorated with a pattern of sparkly stars. Very fitting for the festive season! Made even more enjoyable by the fact that I really like star shapes.
I think one of the best things about the longer nights during winter is having more time to enjoy the stars.
I started to think about something I could make, inspired by the beautiful fabric samples and the night sky. Last year, Rebecca wrote a beautiful piece inspired by her memories of winter nights and other pieces in our collections which are decorated with stars. A year previously, Vicky had given us a fantastic tutorial on how to create your own beaded star decorations and earrings.
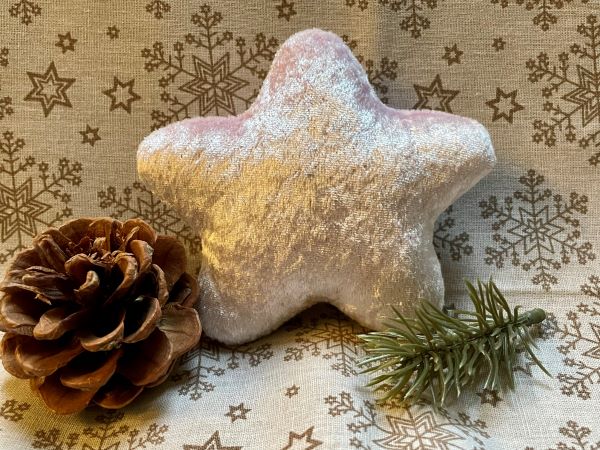
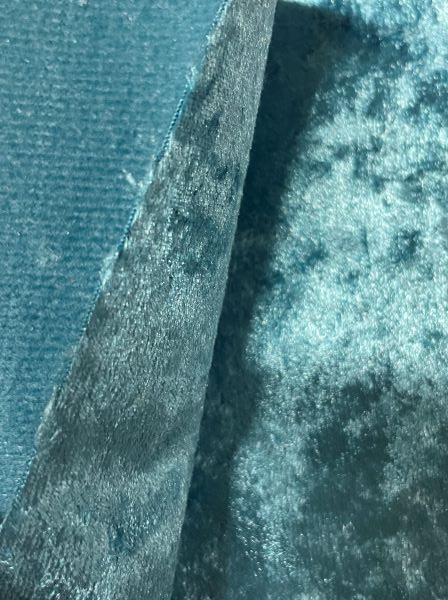
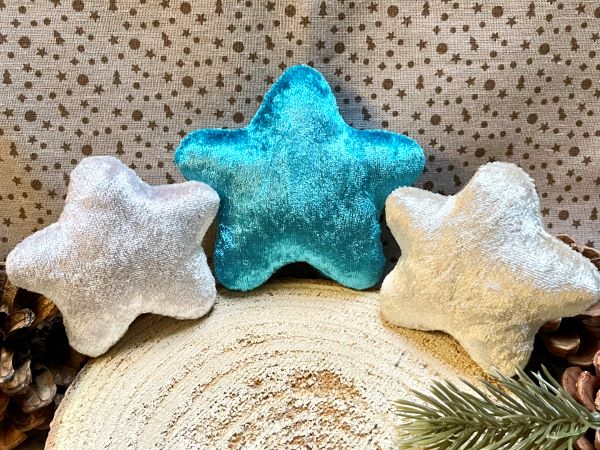
Eventually, I had an idea for little fuzzy stars one could carry around in their pockets to help with anxiety, stimming or just as a general little pick-me-up during what can be a hard season for many. I used some lovely super crushed velvet fabrics, which I thought would be a nice nod to the sparkly star fabrics Vicky had shown me (not that I need an excuse to buy nice fabrics!), for most of my stars. Super crushed velvet doesn’t really fray and is lovely to sew with.
You can sew these stars by hand or on a sewing machine- whatever works best for you!
You will need:
- A fabric of your choice. Some faux fur, polar fleece or minky fabrics have a nice fluffy texture to them. Polar fleece and minky/ cuddle fleece also tend not to fray.
- A thread which matches the colour of your fabric as closely as possible.
- A needle or a sewing machine.
- Pins and/ or fabric clips.
- Polyfill/ toy stuffing. I use polyfill made from recycled plastic bottles, which you can buy from
- Poly pellets (optional, if you want to make a weighted star).
- A pencil, tailor’s chalk or tailor’s pencil.
- A star shape to draw around. You can download a free pattern/ template as a pdf here:
The pattern document contains three different sizes of star you can make. the largest will fit in the palm of your hand but, depending on how much you stuff them, may be a bit of a squeeze for many pockets. The large stars should fit in most coat pockets, however. Personally, I particularly enjoy squeezing the smaller stars the most.
Step One:
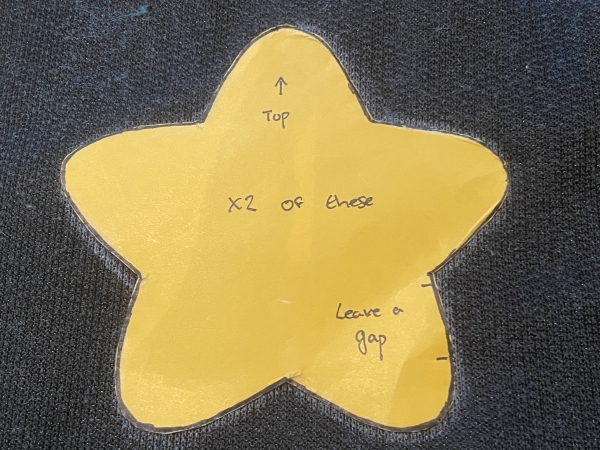
First, draw around the star pattern/ template on the back side of the fabric, also known as the ‘wrong’ side- this usually refers to the the side which isn’t patterned or as fluffy but some plain fabrics do not seem to have a ‘wrong’ side.
Step Two:
Next, cut around the star shape you just drew. Remember to leave a decent amount of spare fabric around the star shape to act as seam allowance.
If you are using faux fur, it may be easier to cut the fabric in a square shape around the star. Once you start cutting faux fur, it starts to shed. You want to make sure that the ‘pile’ or fur is secured on the edges of your star shape by your stitching. You may end up with some bald spots if you cut out a star with a small amount of seam allowance, so it may be better to trim around the seams later on instead of doing it now.
Step Three:
Place the piece of fabric you just cut out face down or ‘right’ side down on the rest of your fabric. The ‘right’ (fluffy or patterned) sides should be on the inside, facing together. Cut a piece from your larger piece of fabric around the smaller piece you have just just out and placed face down.
Tip: If you are using faux fur, make sure that the ‘pile’ or fur on both pieces of your fabric is running in the same direction.
Step Four:
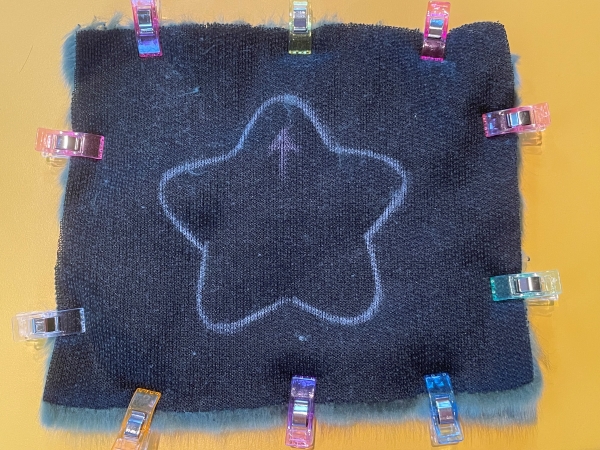
Before you start sewing, you’ll need to pin your fabric pieces together. If you’re using faux fur or another thick fabric that might slide around whilst you’re sewing, you may want to use fabric clips to secure the fabric.
Step Five:
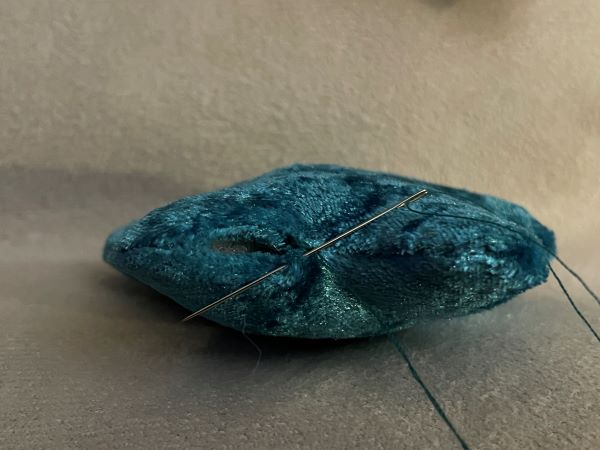
Once your fabric is secure, sew around the outline of the star shape you drew onto one of your pieces of fabric. I used backstitch to make my seams more secure. Keep your stitches small!
Remember to leave a small gap unsewn so you can turn your star inside out/ the right way round.
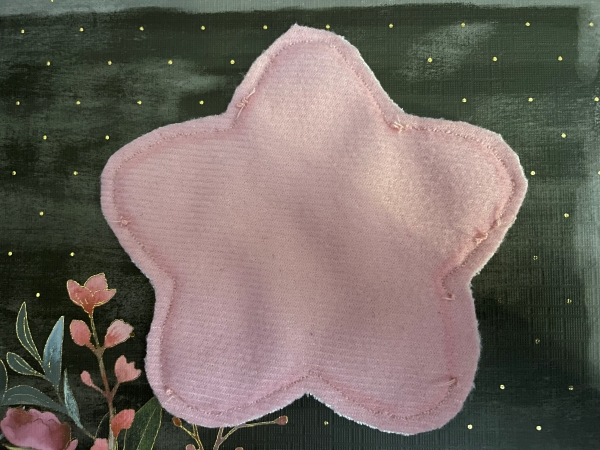
Step Six:
You may want to cut some slight slits into the seam allowance to make turning your work inside out easier. Be careful not to cut through any stitches.
If you kept your fabric as a square shape, now is the time to trim it down so that you have a star shape, leaving some space around the star shape you have sewn.
Now turn your star inside out/ the right way around.
Step Seven:
Once your star is the right way round, add your polyfill (and pellets if you are making a weighted star) until you are happy with the weight of and the amount of stuffing in your star.
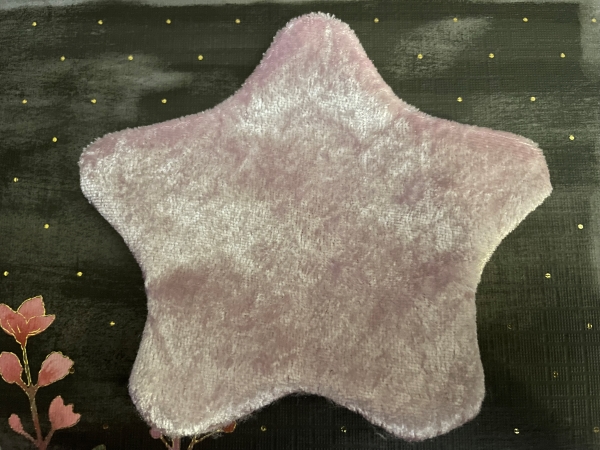
Once you are happy with your star, sew the gap you left open closed. I used ladder stitch/ hidden stitch so that my stitches could not be easily seen. Keep the gap between your stitches small so that pellets and/ or polyfill cannot fall out of the star.
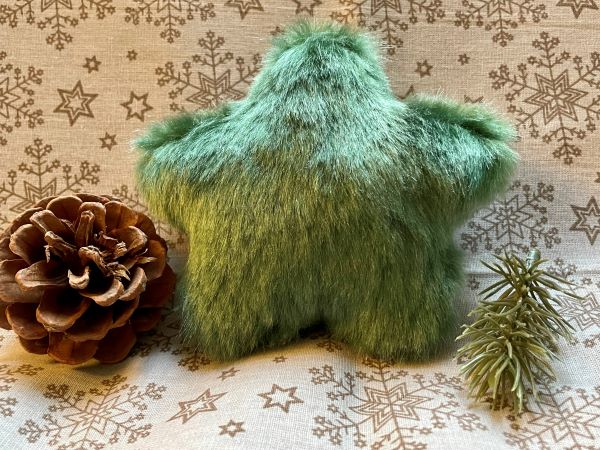

All finished! If you want, you could try using buttons to give your star some ‘eyes’. I prefer mine without eyes.
Now pop your star in your pocket or wrap it up and you’re good to go! –Steph
With special thanks to Victoria Hartley, Curatorial Assistant for Textiles and Wallpaper at the Whitworth.
